Sandstone can look soft, yet it often destroys drill bits surprisingly quickly. Its loose grains act like abrasive sandpaper against cutting edges. Hard quartz pockets create another problem. They can chip carbide tips, overheat steel, and slow drilling within minutes. Why are my drill bits wearing out too fast in sandstone? The answer usually involves several small mistakes, not one dramatic failure.
In the field, excessive pressure is a common cause. It can polish the bit instead of helping it cut. High rotation speed creates heat, especially inside a dry, dusty hole. Poor dust removal also allows abrasive particles to remain under the bit. A suitable masonry or diamond bit may perform better, but selection should follow the sandstone’s hardness and moisture condition. Manufacturer recommendations matter here.
Watch the cutting edge closely. A rounded tip, blue discoloration, or reduced dust flow signals trouble. Short drilling intervals can lower heat and give the tool time to cool. Vacuum extraction or controlled water use may improve flushing, where the equipment and work area allow it. Always confirm the tool’s instructions before adding water.
Small adjustments help.
Still, not every failure is obvious. I have seen operators blame weak bits when worn drill guides caused uneven pressure. I have also underestimated how quickly one hard layer could damage a fresh bit. That experience supports a careful process: inspect the rock, match the bit, control pressure, manage heat, and record performance. Reliable results come from testing one change at a time, rather than guessing after every failed hole.
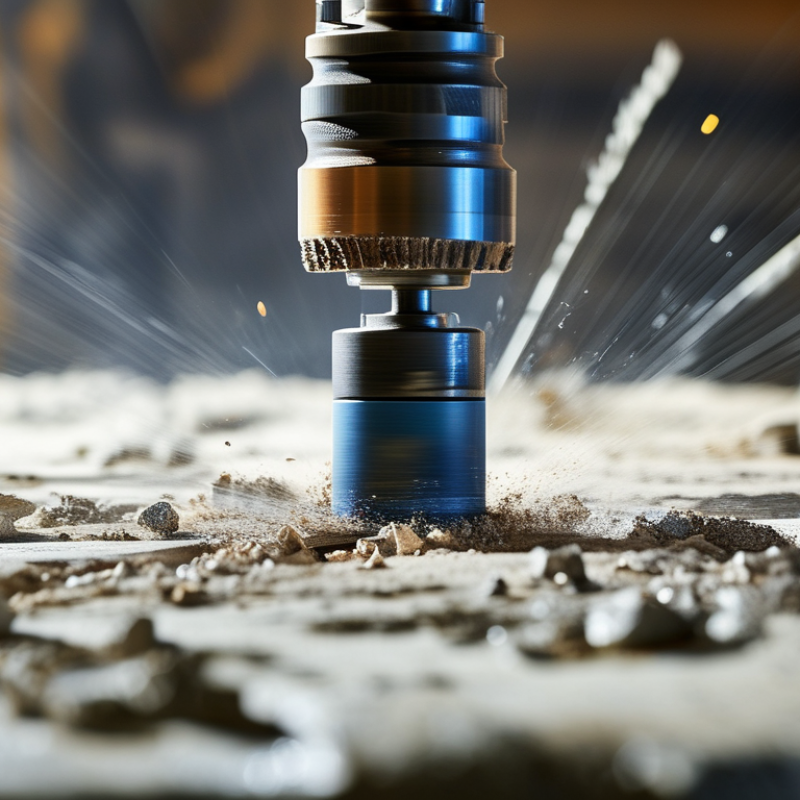
Sandstone can destroy drill bits quickly because its grains act like loose abrasive particles. Many sandstones contain abundant quartz, and the U.S. Geological Survey rates quartz at 7 on the Mohs hardness scale. That is far harder than common steel cutting surfaces. Under rotation, quartz grains scrape the cutting edge and create tiny fractures. The bit may look sharp, yet its cutting geometry has already changed.
Published rock-drilling studies commonly link higher quartz content with higher Cerchar Abrasivity Index values. Quartz-rich sandstone can exceed a CAI of 2, although the result depends on cement, grain size, moisture, and testing method. Hard cement increases cutting resistance. Weak cement releases grains into the hole, creating a grinding slurry. Both conditions accelerate wear, but in different ways. This distinction is often missed.
Tips: Check the rock description before drilling. Ask for quartz content, CAI data, or thin-section results. Reduce excessive weight on bit when penetration suddenly falls. Excess pressure can polish the cutters instead of breaking rock. Keep flushing water clean and steady. Inspect the bit after every short interval, not only after failure. A slower feed rate may appear inefficient, but field records often show fewer premature changes. I would not treat one wear pattern as proof of one cause; vibration, poor alignment, and unstable flushing can imitate sandstone abrasion.
| Wear Factor | Why Sandstone Causes Rapid Wear | Practical Control Measures | What to Monitor |
|---|---|---|---|
| Quartz Content | Many sandstones contain hard quartz grains. Quartz has a Mohs hardness of approximately 7 and can abrade cutting structures, carbide buttons, and bit faces. |
|
Rounded cutters or buttons, polished wear flats, reduced penetration rate, and increasing torque at the same drilling depth. |
| Abrasive Cement | Silica-rich or poorly cemented grains may detach during drilling and act as loose abrasive particles between the bit and the borehole wall. |
|
Rapid bit-face polishing, abrasive slurry, poor returns, recurring cuttings accumulation, or annular pressure changes. |
| Poor Consolidation | Weakly cemented sandstone can collapse or produce large volumes of loose cuttings, increasing regrinding and bit-face abrasion. |
|
High solids concentration in returns, unstable hole walls, repeated torque spikes, and frequent need to ream. |
| Interbedded Layers | Alternating sandstone, shale, siltstone, or harder streaks can create uneven loading, impact, and chipping at the cutting structure. |
|
Localized chipping, uneven wear around the bit, vibration, torque fluctuation, and inconsistent penetration. |
| Excessive Weight-on-Bit | Too much axial load can crush cutting elements, increase friction, and accelerate thermal and mechanical wear without producing proportional penetration. |
|
Penetration stops improving as load increases, torque rises rapidly, or cutters show impact damage and breakage. |
| Excessive Rotation | High rotational speed increases sliding distance and frictional heat. In abrasive sandstone, this can polish or thermally damage the cutting structure. |
|
Smooth polished wear flats, rising torque, heat discoloration, reduced cutting efficiency, or accelerated gauge wear. |
| Insufficient Cooling | Inadequate fluid flow prevents heat removal and allows abrasive particles to remain near the cutting surface, increasing friction and wear. |
|
Hot bit, smoke or steam, degraded cutting elements, poor cuttings transport, and unstable return flow. |
| Plugged Nozzles | Blocked nozzles create uneven cooling and cleaning, concentrating wear on specific parts of the bit face. |
|
Uneven bit wear, reduced circulation pressure, weak returns, localized overheating, or asymmetric cuttings removal. |
| Vibration and Whirl | Lateral vibration causes impact loading and uneven contact, which can chip cutters and wear the gauge faster than normal abrasion alone. |
|
Repetitive vibration, irregular torque, damaged gauge pads, chipped cutters, and a rough or oversized borehole. |
| Gauge Wear | The outer diameter of the bit experiences sliding contact with the borehole wall. Abrasive sandstone can reduce gauge diameter and affect hole size. |
|
Undersized hole, increased lateral movement, poor tool clearance, and visible wear on the outer rows or gauge surfaces. |
| Formation Moisture | Water can weaken poorly cemented sandstone, promote sloughing, and change cuttings behavior. The resulting debris may increase regrinding and clogging. |
|
Sticky or unstable returns, increased hole cleaning time, sloughing, blocked passages, and changing torque behavior. |
| Poor Bit Selection | A bit optimized for soft, low-abrasion rock may cut quickly at first but wear rapidly in quartz-rich or highly abrasive sandstone. |
|
High initial penetration followed by sudden performance loss, premature cutter wear, or repeated short runs in the same interval. |
| Delayed Inspection | Small wear flats, chipped elements, and blocked flow paths can develop into severe damage if the bit continues operating unchecked. |
|
Increasing drilling cost per meter, longer drilling time, rising vibration, abnormal torque, or declining penetration rate. |
| Operating principle: In abrasive sandstone, bit life is usually improved by balancing weight-on-bit, rotational speed, cooling, cuttings removal, vibration control, and bit selection. The best settings depend on formation abrasiveness, bit design, hole diameter, equipment capability, and actual drilling response. | |||
: Quartz grains act like tiny abrasive particles. They scrape cutting edges during rotation and create small fractures.
No. Grain size, quartz content, cement strength, moisture, and testing methods change its abrasiveness.
Abrasive wear usually increases. Some samples may exceed an abrasivity index of 2.
Hard cement increases cutting resistance. Weak cement releases loose grains that form a grinding slurry.
Use a cutting profile that clears material easily. A carbide-tipped design may perform steadily in mixed layers.
A diamond-impregnated design may last longer. However, the correct choice still depends on actual rock conditions.
Yes. Excessive pressure may crush cutting edges, create heat, and polish cutters instead of breaking rock.
Clean, steady water should remove cuttings. Poor flushing leaves sand around the bit and increases friction.
Record penetration speed, dust color, vibration, drilling angle, and cutting-edge condition after each short interval.
Not always. Vibration, poor alignment, and unstable flushing can imitate sandstone abrasion. My judgment could be wrong without more checks.
Why are my drill bits wearing out too fast in sandstone? The main causes are sandstone’s abrasive grains, changing rock density, excessive drilling pressure, and unsuitable bit selection. A bit designed for softer materials may lose its cutting edges quickly when exposed to hard quartz particles. Choosing a bit with the right cutting structure and durability for abrasive sandstone can significantly improve service life. It is also important to adjust drilling speed, rotation, and feed pressure according to the formation. Excessive force can overheat the bit, while unsuitable rotation may increase friction and vibration.
Effective flushing and cooling help remove cuttings, reduce heat, and limit dust buildup around the cutting surface. During and after drilling, inspect the bit for rounded edges, cracks, uneven wear, or reduced penetration. Clean it properly, maintain the equipment, and replace the bit when wear begins to affect drilling efficiency or safety. Consistent monitoring and balanced operating settings can reduce premature wear and improve overall drilling performance in sandstone.

